Description
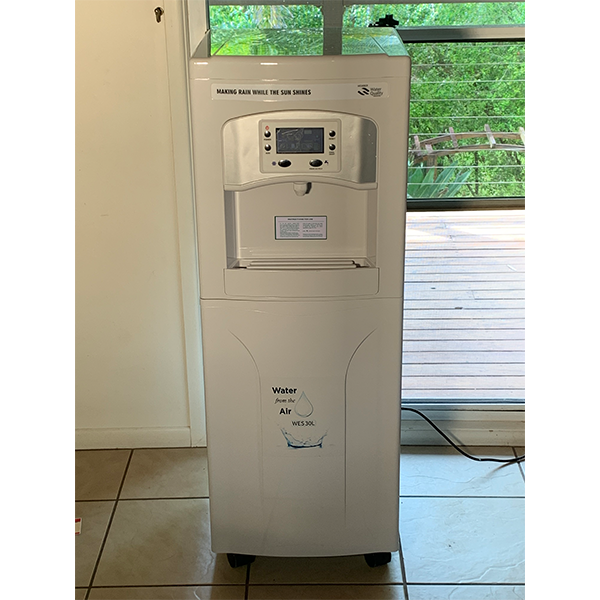
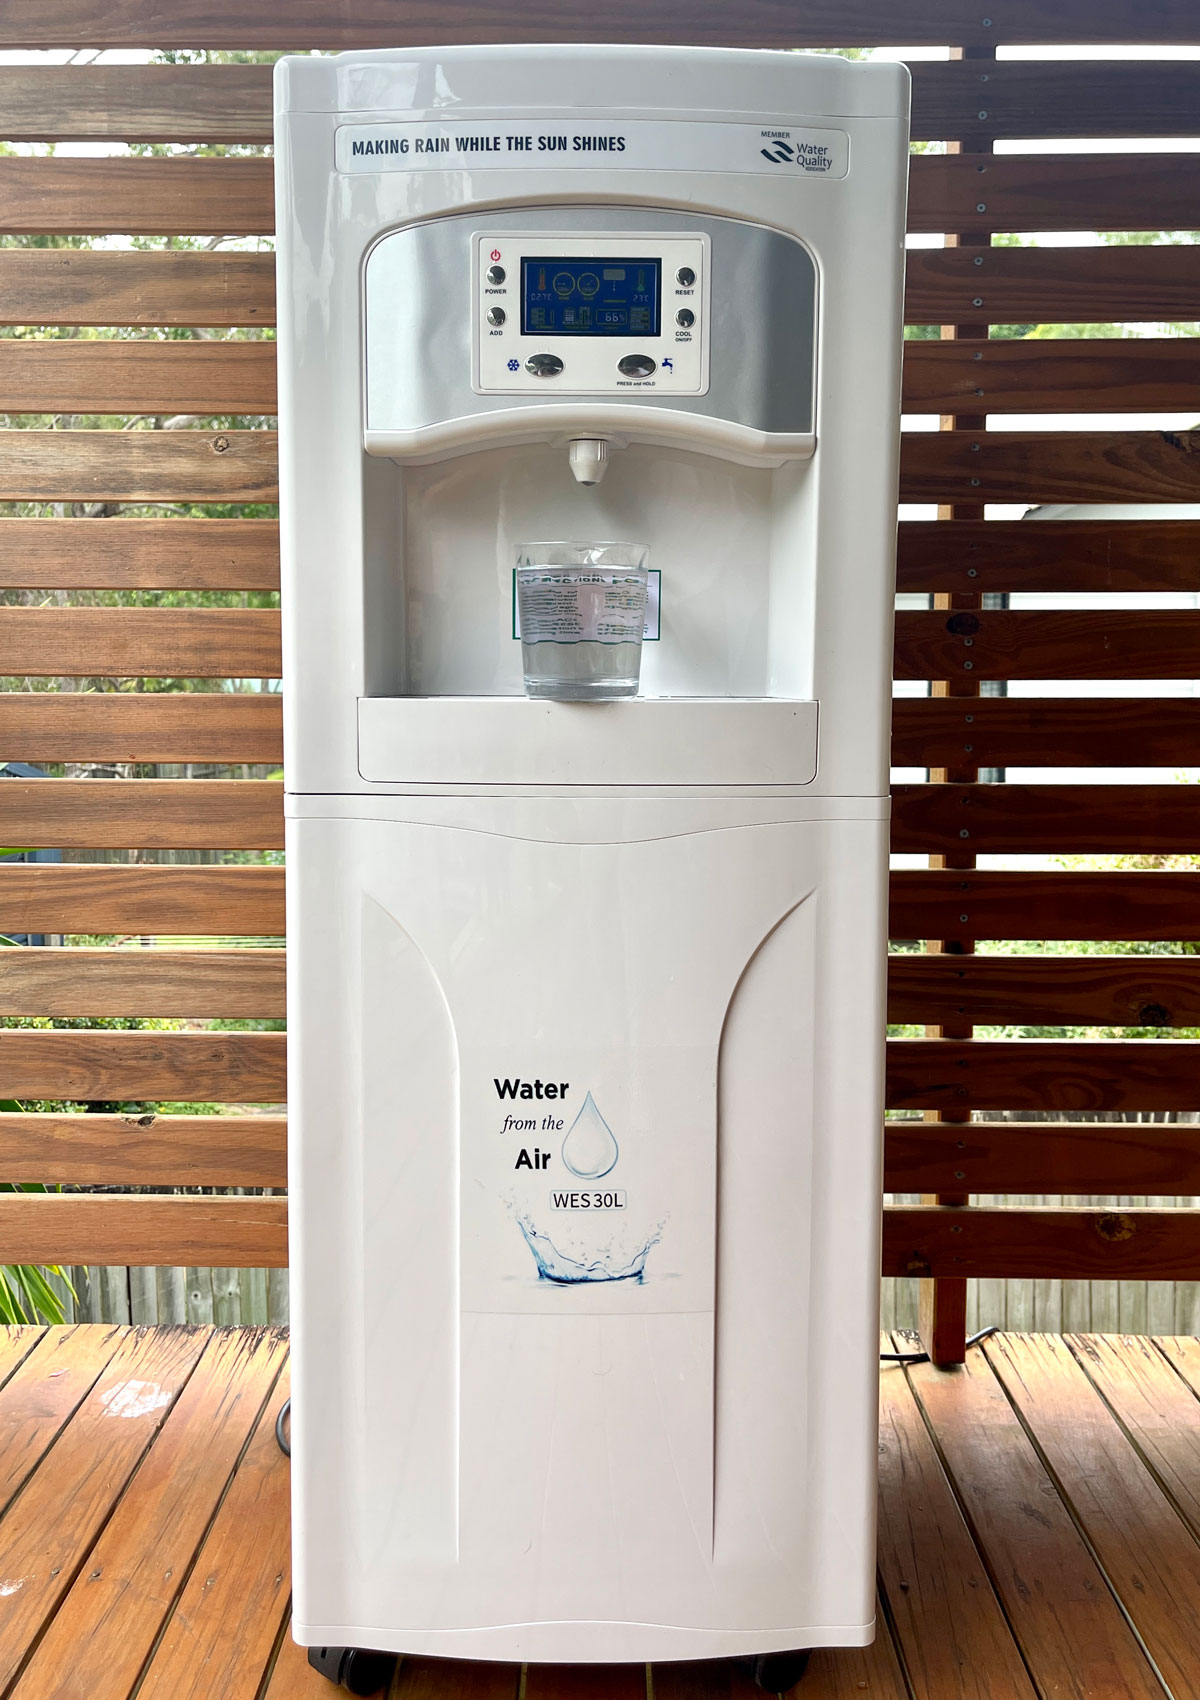
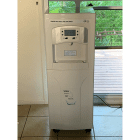
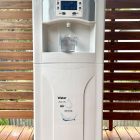
30L Atmospheric Water Generator Specifications:
- Ships from Brisbane
- 30L per day water extracted from air at 80% humidity 30C;
- Storage Capacity: 16L fresh drinking water
- Power required: 240V Mains. Minimum 24V Solar.
- Frequency: 50 hz
- Water Production Power: 375W
- Cooling with Water Production Power combined: 450-500W
- PH 6.4
- Water Temperature in cooling mode: 4 – 9 C
- Working atmospheric Temperature: 14 – 40C
- Working atmospheric Humidity: 33 – 95%
- Unit Weight: 48 KG
- Unit Dimensions (mm): 400 x400 x1110
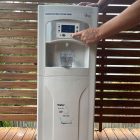
- Cold or room temperature water selection option
- Leak detector alarm
- Change filters alarm
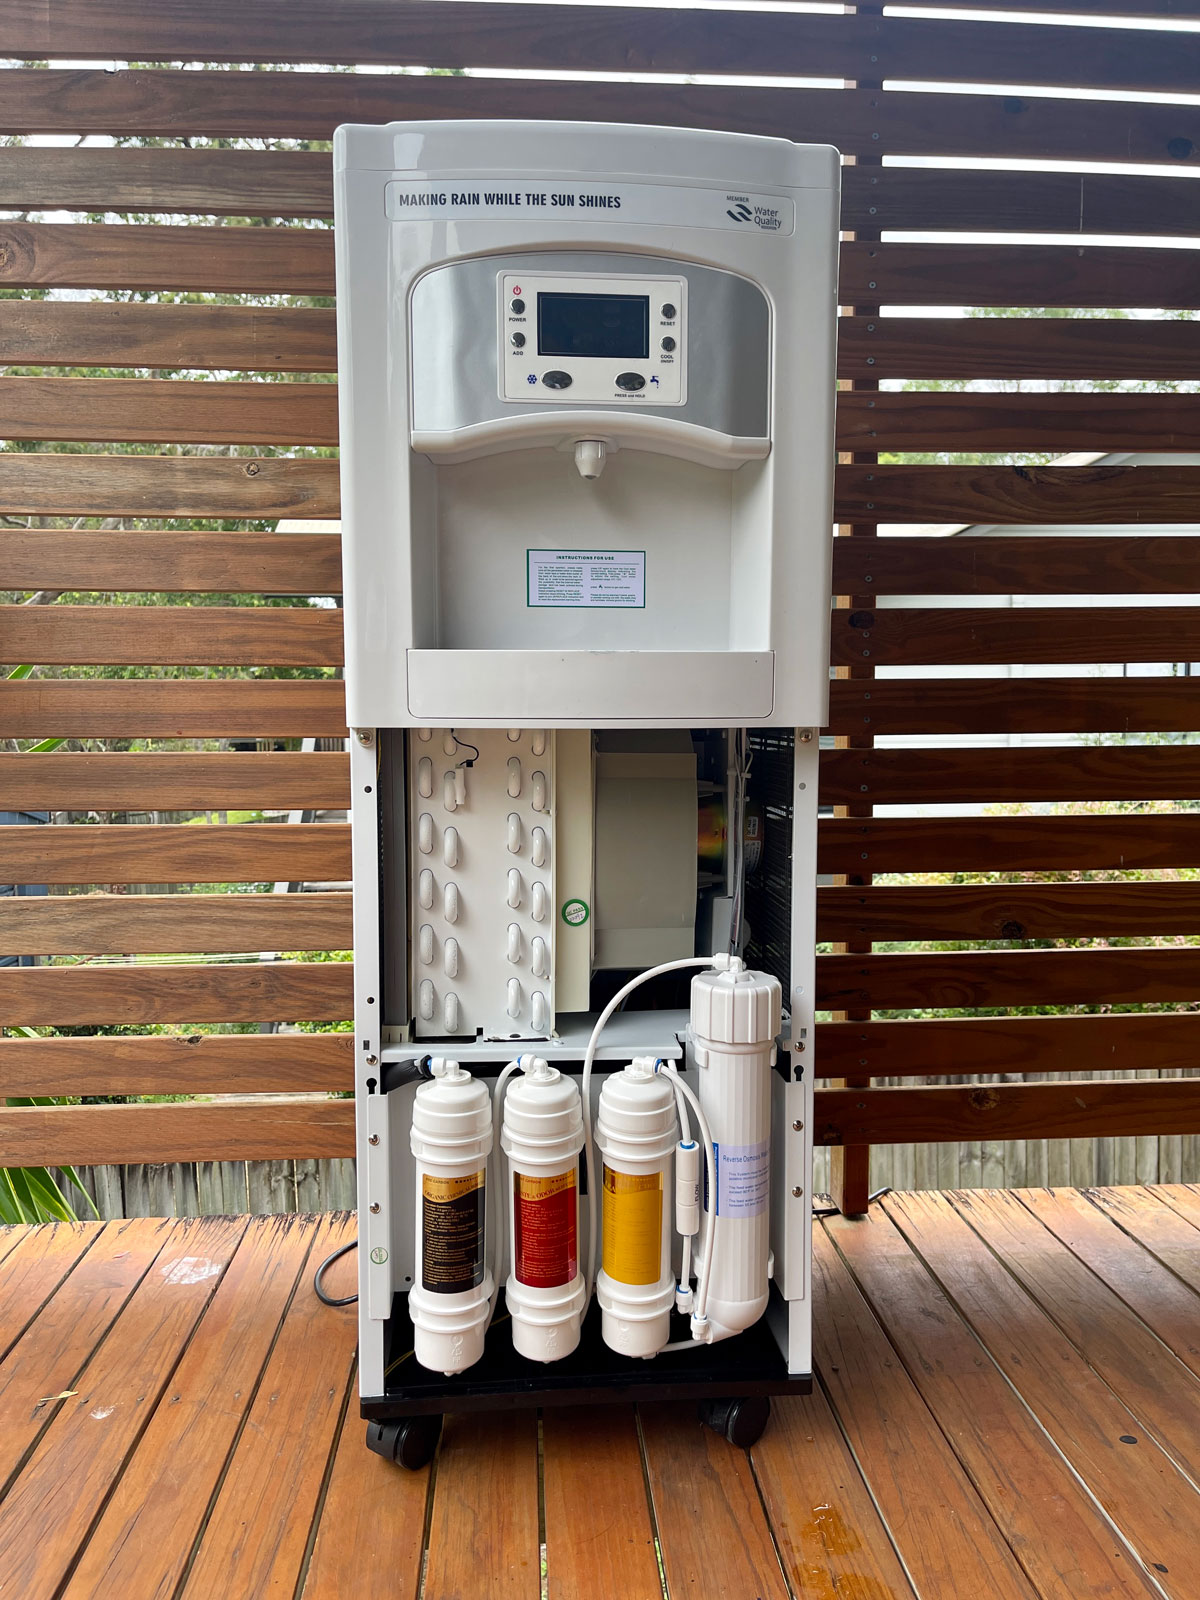
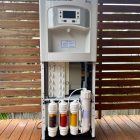
- 7 Stage filtration:
- Electrostatic air filter
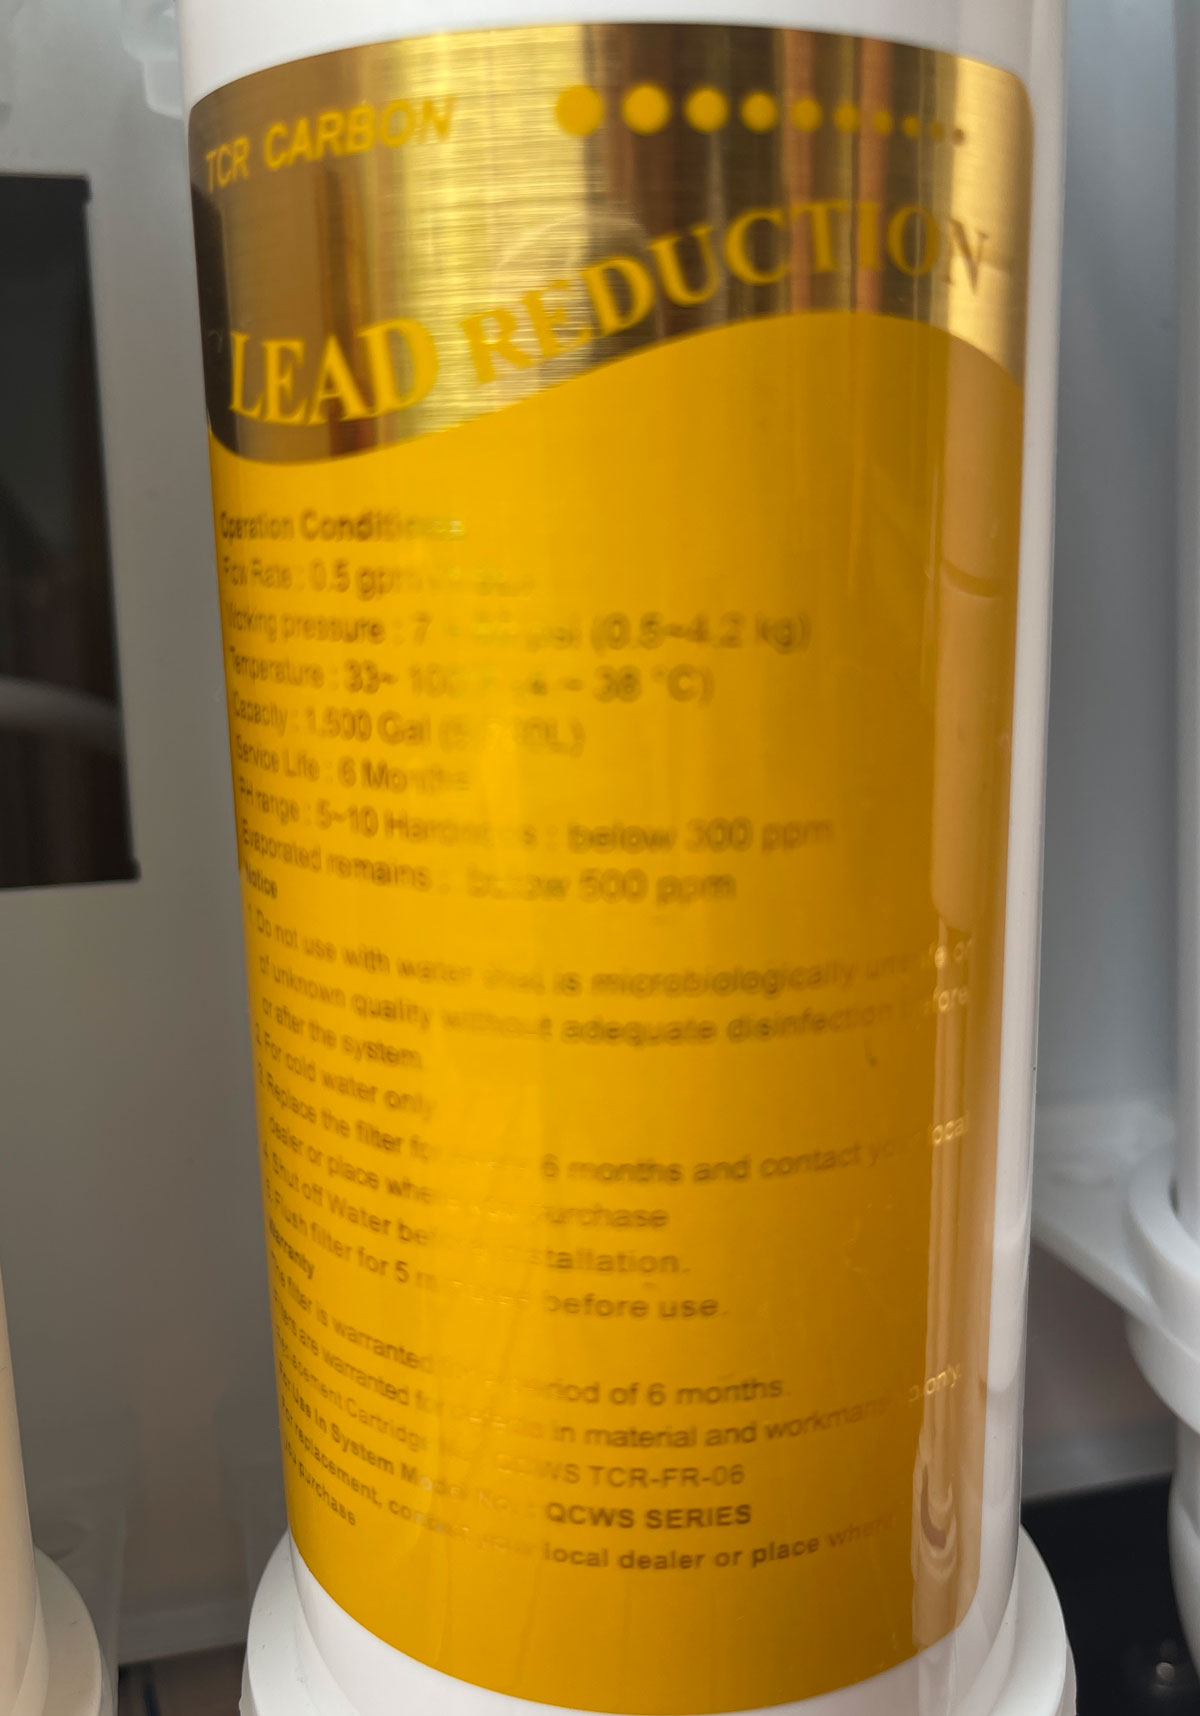
- Total Contaminates Removal (TCR) filter
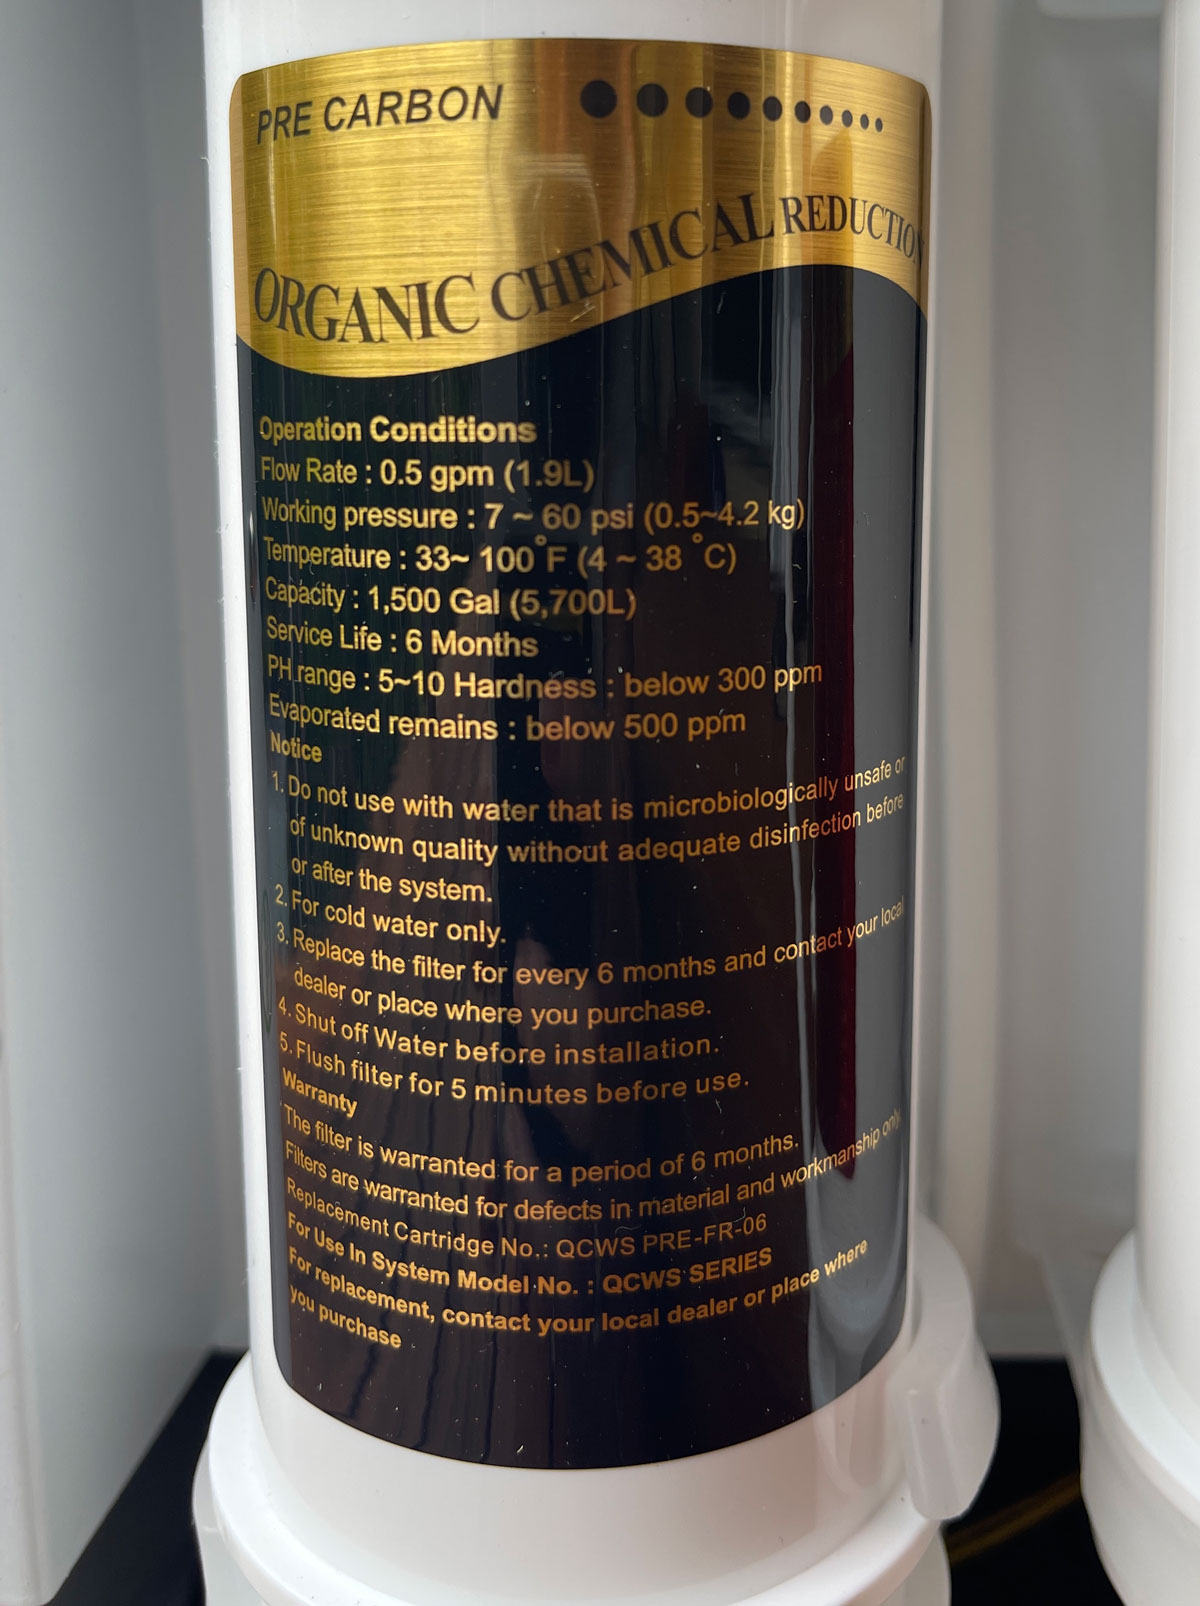
- 10 Micron Carbon Pre- Filter
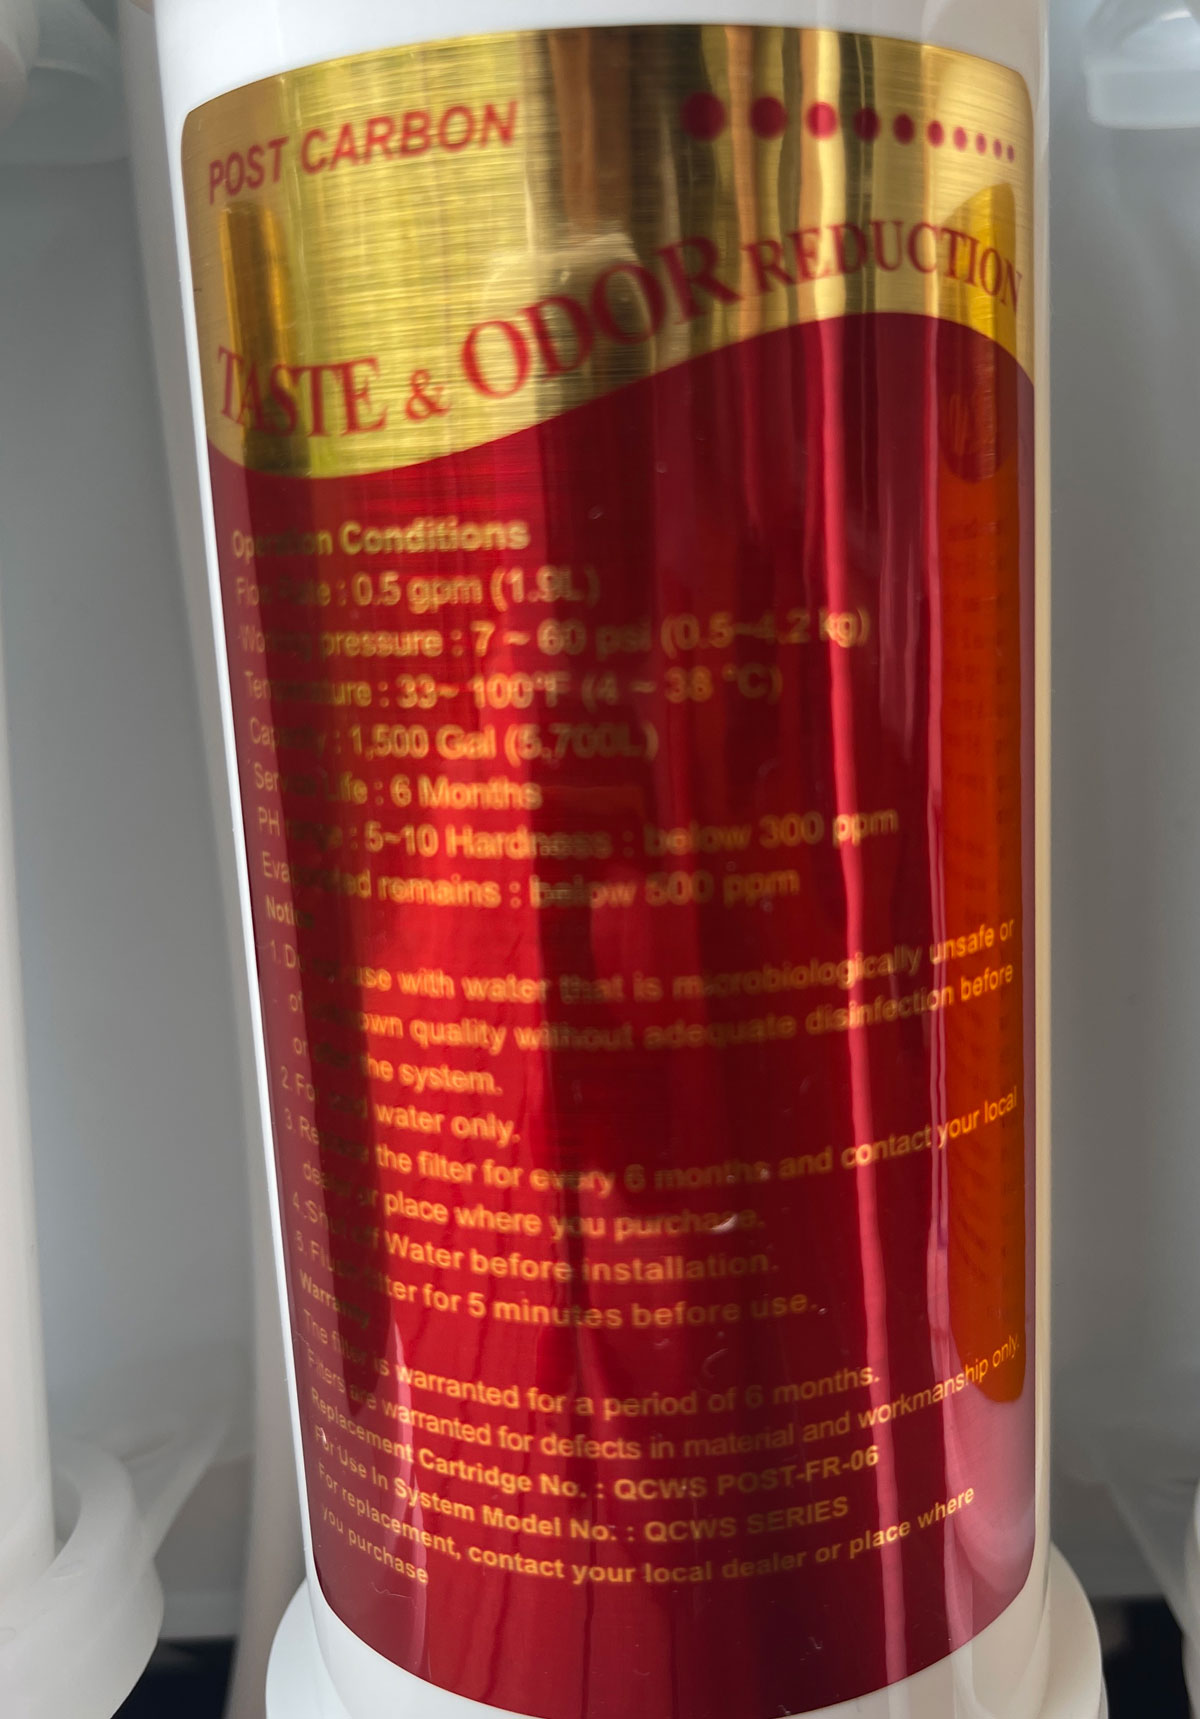
- 5 Micron Carbon Post Filter
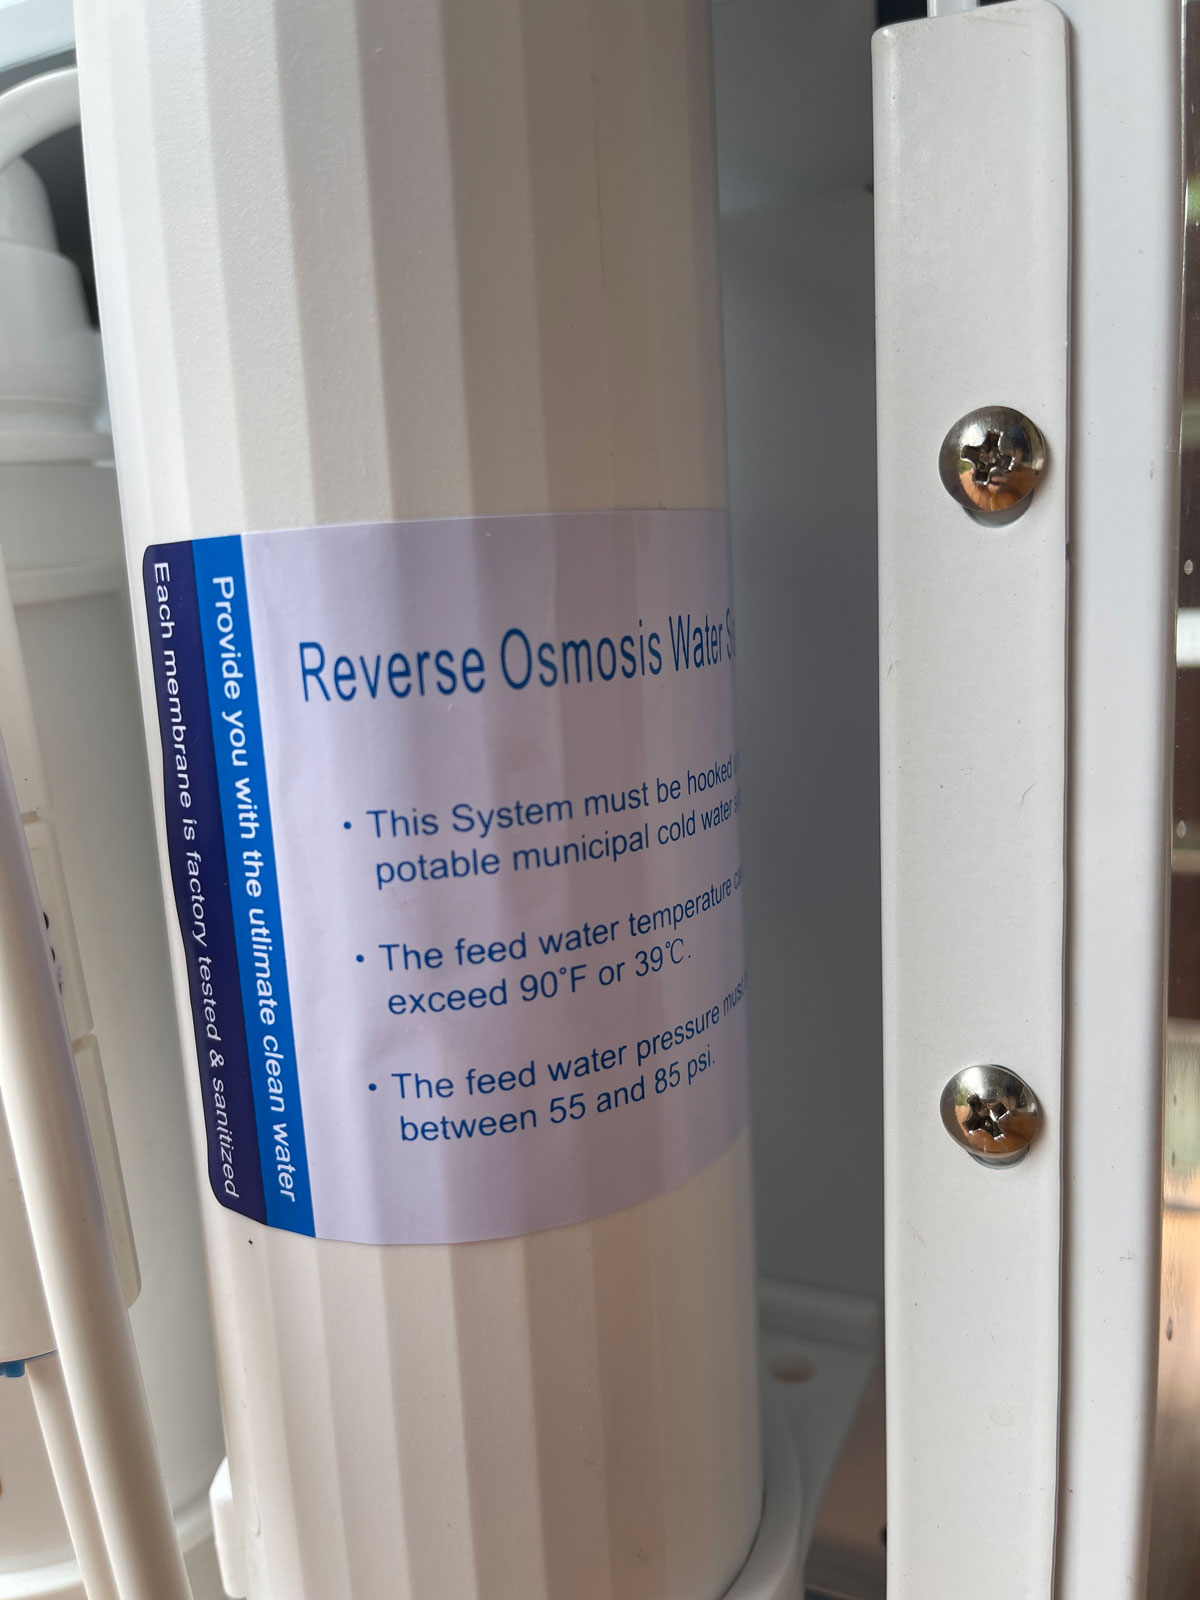
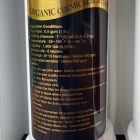
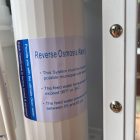
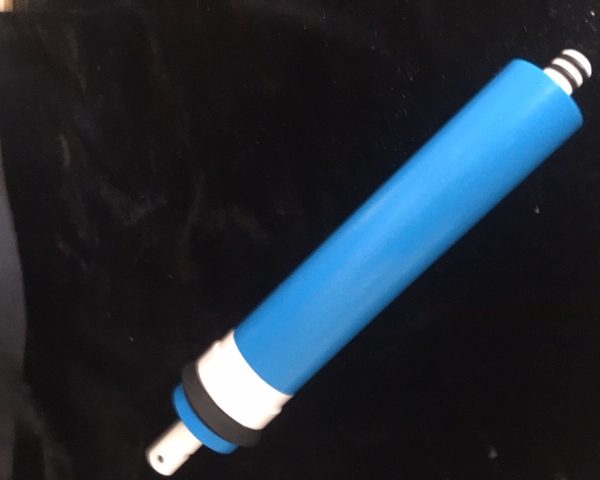
- Reverse Osmosis Filter
- Silicon/Sand/Carbon lower Tank pouch filter
- Recirculates water made daily past 2 UV lights keeping water fresh and bacteria free.
- Parts Per Million less than 50
- EC less than 100
- 12 month warranty
- Auto Low Humidity sleep mode at 33% with water disbursement available.
- Recirculates water made daily past 3 UV lights keeping water fresh and bacteria free.
- Add additional water conveniently from an exterior source.
Spare parts available:
-
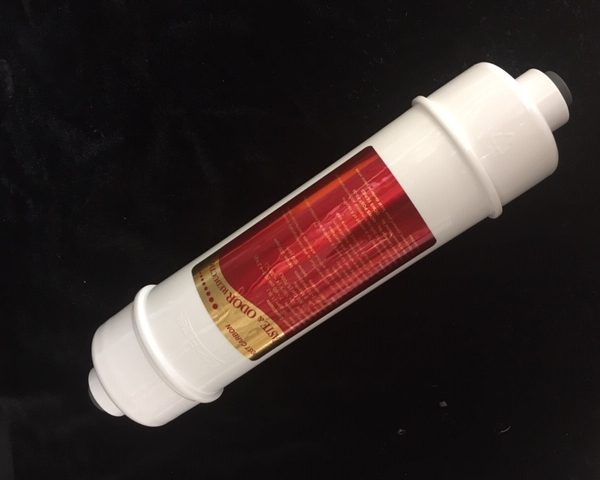
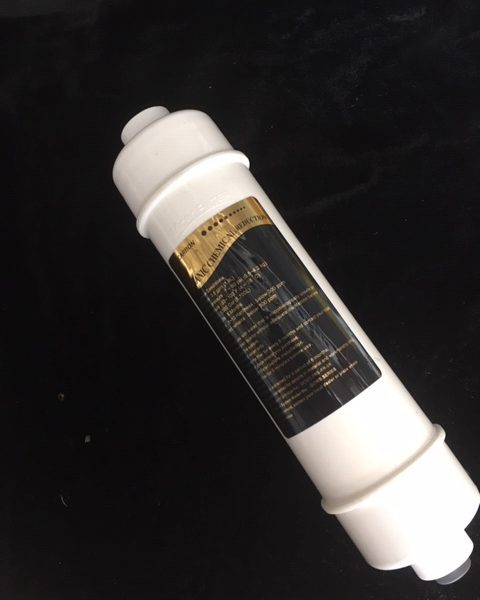
Reverse Osmosis RO Filter WES30
$159.95 inc GST -
Post Carbon Filter WES30
$44.95 inc GST -
Pre Carbon Filter WES30
$44.95 inc GST -
Total Contaminant Removal TCR Filter WES30
$59.95 inc GST -
Water Remineralisation Filter WES30 (optional)
$64.95 inc GST -
Bottom tank Carbon Silicon Pouch filter WES30
$24.95 inc GST
Instruction Manual
I. INTRODUCTION
Thank you for purchasing the Airqua 30L Atmospheric Water Generator. The Atmospheric Water Generator is a new, state-of-the-art water-generating machine, which uses some of the latest and most sophisticated technology available in the industry today. We have designed your Atmospheric Water Generator with one objective in mind i.e. to produce the most maximum amount of high quality drinking water while using only minimum amount of electricity. When hook up with city water supply, the machine can produce purified drinking water thus makes it a duo-functional machine.
II. SAFETY NOTES
- The socket should be equipped with reliable grounding protection and with a load capacity of 10 Amperes.
- Do not remove grounding terminal from the power cord.
- Do not use extension plug nor extension adapter.
- Always keep the unit from poisonous gas and liquid.
- Do not use damaged electrical plug or power cable.
- Unplug power cord before maintenance.
- Do not share the electrical socket with other high power consumption appliance.
- Always use correct replacement parts.
- Do not unplug power cord with wet hands.
- Use the enclosed water pipe kids to connect with city water input. Do not use any old water pipelines to connect to the unit.
- Please make sure the person who is not have completed body, sensory or mental disabilities, or lack of experience and knowledge (Children included) to use the machine under the supervision and guidance of who is responsible for their safety.
- When moving the machine, please unplug the power cord and empty water in all tanks. Do not tilt the machine more than 20º during moving.
- Make sure the children do not use the machine.
- Shipment of the Machine, do not make it over tilted 20°, please make the machine stand horizontally for 30minutes before using it. Because in the process of shipment, the refrigerant could be not go back to the compressor totally in time, if you start up immediately when arrival, it could cause the compressor to be damaged.
- Use the enclosed parts to connect with city water inlet.
Ⅲ. PRECAUTIONS
- Do not place the unit too close to the wall. Best performance is obtained when the unit is placed at least 30 cm from the wall.
- This unit is not for outdoor use.
- Avoid prolonged exposure to direct sunlight.
- Keeps the unit working in standing position.
- Operating voltage must not drop below 10% of standard Power supply. When the unit operates below this level, the unit becomes noisy with the possibility of overheating. When this occurs, immediately switch the unit off until the voltage returns to normal.
- Avoid prolonged direct eye exposure to ultraviolet device as it may damage the eye.
- This unit is not suitable for use at places with spray water. Do not use spray water to clean the unit.
- To prevent the machine from damage caused by freezing, please drain off the remaining water and stop operating the machine if the environment temperature during its working is below 0℃.
- If there is any damage to the power cables, the cables must be repaired or replaced by an authorized person to avoid danger.
- For the condition of operating on uneven ground, a fixer should be mounted to the unit (as pictures).
- Do not place any object on top of the machine. Good ventilation is required to ensure optimum performance.

Ⅳ. MAINTENANCE
- Always keep the unit clean. Wipe the outer casing with soft, damp fabric to clean. Use water to clean, avoid using harsh cleaning agent.
- Do not use cleaning agent to clean storage tanks.
- Clean air filters regularly to ensure proper air flow.
- When machine not use for a longer period of time, drain out all water completely and clean all tanks.
Ⅴ. HOW IT WORKS?
It is important to be aware that your Atmospheric Water Generator is a humidity and temperature driven machine. This means the machine totally depends on the level of humidity in the air and the temperature to produce water. Ideally, the humidity level should be at least 50% or above to achieve the machine’s optimum performance. In places with lower humidity level, the machine will still produce water but not as quickly, nor as much as in places with high level of humidity. In the house environment, higher level of humidity tends to be around the kitchen area, near an open window or in more spacious rooms.
This unit also performs well in an air-conditioned room, but it is recommended to open the window at night to make the room ventilated.
Because your Atmospheric Water Generator works by converting the humidity in the air to water, this unit also acts as an effective dehumidifier. In areas with high humidity, it not only acts as a good water generator, but also a perfect dehumidifier to keep you healthy and ensure your home appliances a long service time.
To ensure high quality of drinking water, the Atmospheric Water Generator is utilizing multiple filtration technologies.
When the air is dry or during cold season, water generation will be slow. At this moment, connection to city water will make the machine serve as water purifier by utilization of the filtration and sterilization system.
Ⅵ. FEATURES
1. Microcomputer
The unit is fitted with a microcomputer, which ensures proper working of internal parts.
2. Electronic Sensors
Various electronic sensors are attached to parts such as UV lights and storage tanks. These sensors ensure that all parts are working properly and warn you should that a breakdown or performance irregularities occur in the machine.
3. Energy Saving Features
To conserve electricity, electronic sensors have been placed in the storage tanks to automatically stop the machine from making more water when the tank s are full and cold water reaches the preset temperature.
4. Water Leakage Detector
In case of any unexpected situation of water leakage, the machine will stop working automatically and be accompanied with warning sound and flashing screen.
5. Condensing Coils
The condenser is designed especially and with food class coating to prevent any metal pollution and improve water production efficiency.
6. Multi-Stage Filtration System
Our dedication to providing high-quality, great tasting water to our consumers is accomplished by our unique multi-stage filtration system. It can remove odor and pollutant.
6.1 Anti-static patented air-filter:
Before air becomes water drop through condensation, the air must go through
Anti-static air filter to filter out dust particles and effectively block dust in the air from entering the machine.
6.2 Bottom tank small pouch filter:
Removes large grain impurities in the water of bottom tank, to protect the water booster pump and make its service life longer.
6.3 Multistage filtration system:
Our filter system not only can produce light alkaline water which is more pure without dirty waste, but also produces tasteful purified water with mineral and elements, which brings health to our body.
6.3.1. Pre-Carbon 10 micron Filter
Removes organic compounds, odor, free chlorine, heavy metals, etc.
6.3.2. Post carbon 5 micron filter
Further removes any color, odor, heavy metals, organic compounds and chlorine, at the same time protecting the RO membrane from chlorine and thus extends the life span on the RO membrane.
6.3.3. RO membrane
Mainly removes micro impurities, colloid, heavy metals, soluble solids, bacteria and other harmful substances.
6.3.4. TCR carbon filter
The Total Contaminant Removal (TCR) post-filter contains granular activated carbon and is placed in a position where there is longer contact time to ensure adsorption of any organic contaminant that might have escaped the reverse osmosis (RO) process.
The above filtration system for reference only, may change without prior notice.
7. Ultraviolet Sterilization System
The proprietary ultraviolet lamps treat the water for sterilization to ensure that all bacteria and microorganisms are eliminated. Sterilization process is controlled by microcomputer automatically.
7.1. Top tank UV device: Eliminate bacteria growing in top tank, reduce bacteria level to minimal.
7.2.Cool water out UV device: Eliminating bacteria from dispensing tubing. To ensure water is safe to drink.
7.3.Bottom tank UV or LED UV device: Eliminate bacteria growing in bottom tank, reduces bacteria level to minimal.
8. Water Re-circulation
Our patented exclusive technology ensures that stored water remains fresh and clean and avoids second pollution.
9. Novel and Noble Body
The Atmospheric Water Generator has a smaller and sleek design and is compact and versatile. Advanced LCD screen is added to make the operation, air humidity and water quality conditions more clearly and directly understood.
Ⅶ. OPERATION
By following these simple instructions and simple maintenance procedures, your Water Generator should give you years of trouble-free operation while producing the maximum amount of pure, high-quality, drinking water that is not only healthy, but also beneficial to your health.
Please read this operation manual carefully before you start the machine.
1. SCREEN FUNCTION

1.1. Working Temperature Range
The higher level displayed, the warmer of the surrounding.
1.2. Water Level Indication of Bottom Tank
The higher level displayed, more water it contains.
1.3. Water Level Indication of Top Tank
The higher level displayed, more water it contains.
1.4. Water Generating Icon
The unit is generating water when the icon flashes.
1.5. Cool Water Icon
1.6. Chilling Level Indication
The icon indicating cooling level in the top tank, the higher the level, the closer to the preset temperature.
1.7. Cooling Icon
Cooling function is activated when the icon is lit. The unit is under cooling process when the icon flashes.
1.8. Cool Water Temperature
Press C/F key to switch water temperature display between Centigrade and Fahrenheit.
1.9. Defrost Icon
The unit is in defrosting process when the icon flashes (There would be low temperature in someareas).
1.10. Water Re-circulation Icon
Water recycling in top tank or bottom tank is underway when the icon flashes.
1.11. Filter Replace Warning
Normally the icon “REPLACE” keeps on. When it flashes, the filters should be replaced.
1.12. Water Leakage Warning Icon
System is detecting a water leakage when the icon flashes.
1.13. Humidity Indication
Displays the current humidity %. Hold down “COOL” button to check the current temperature on condenser.
1.14. Booster Bump Icon
The pump is working when the icon flashes.
UV Warning Icon
1.15. The icon will flash when one of the UV lights is on fault.
1.16. The icon will flash when the bottom tank UV light or LED is on fault.
1.17. The icon will flash when the inline UV light is on fault.
1.18. The icon will flash when the top tank UV light is on fault or LED UV needed to change.
1.19. Working Temperature Indication
Press C/F key to switch water temperature display between Centigrade and Fahrenheit. Combination to unlock .: the buttons of this unit have been locked. You can only press the power button and releasing water button before unlocking. If you need to unlock other buttons, please press”RESET” → “C/F” → “COOL” → “RESET” one by one. Then make the adjustments required.
2. SETTING UP
2.1. Please confirm parts in the package are a complete set. The unit should be placed on solid and level ground and be located in a place with good air circulation. The unit should be placed no less than 30 cm from the wall. Push down the lever of braking wheels to affix the machine in fixed position.
2.2. Do NOT connect it to power within the first half hour, leaving the machine in a standing position to make sure the refrigerant returns to compressor. Upon arrival at site, instant connection to power and starting the Machine may damage the compressor.
2.3. Insert into electrical socket capable of handling no less than 10A.
3. OPERATIONAL STAGE
According to the customer’s requirements, the machine has the function to connect the city water or the external water function. (WES Australia) If the machine is connected to city water, the valve will automatically be opened under certain conditions. When the machine is connected to the external water tank, the water can be pumped from the external water tank to the machine by short pressing the adding water button (ADD). When the external tank is empty the lower tank full pump will automatically stop.
3.1. Button instructions:
POWER: Power on or off.
C/F: Celsius or Fahrenheit shift. (Function to connect to city water).
ADDING WATER BUTTON: short press to ADD the water, then short press again to stop it. (External water connection function is standard on all WES Australia machines).
7
RESET: Filter timer reset.
COOL: Cooling function on or off.
C: Shift machine from making water into chilling.
: Cold water faucet.
3.2. When the unit first starts, you should be able to hear a “beep”, the light on the display screen should also be lit. The compressor will run in 2-3 minutes, and you will see that the corresponding water droplet light on the display screen is lit and moving.
EMERGENCY STOP: Hold down “POWER” key on front or unplug power cable from the socket to stop the unit if desired.
3.3. Do not be alarmed when you do not obtain cold water during the first few hours of operation. This only occurs when the water level in the machine reaches a prescribed level (12 o’clock on RHS clock), will the cooling mechanism be triggered. (Generally, the first cooling will start in ten to twenty hours during the first operation, depending on local temperature and humidity conditions.)
3.4. When there is enough water (RHS Clock shows 12 o’clock) in your machine, press “COOL” key on the panel to switch on or off cooling process. The green “” indicator light will be lit when cooling is switched on. It will turn off when the machine is not in cooling process. The cooling mechanism will be triggered on and the green “” indicator will blink when water level in “ALLOT” (top tank) reaches two bars displayed on display screen. It will turn off automatically when water is cooled to preset temperature (4 – 7oC). If cooling fails to start the machine may still be in the LOCK position.
3.5. When water level in “RHS Clock” reaches 12 o’clock, and the cool water temperature is above the pre-set temperature (above 8oC), and the cooling icon is on. Press “COOL” for the compressor to cool the water immediately.
3.6. Press C/F button to switch the temperature display between Celsius and Fahrenheit. (Also function to connect to city water)
When the upper tank is not full, press the Function button to add water externally. At the same time, the display will show “ADD”. If you want to stop adding water, press the Function button to stop it. (External water function).
3.7. When the machine is in cooling process, the cold water temperature will remain in the preset range automatically. To adjust cool water temperature setting, hold down C/F button to have the Cool Water Temperature display indicating the current setting. Then press “COOL” button to adjust the setting. Cool water adjustment range: 4-10oC. (C/F also functions to connect to city water).
3.8. When the filtration system requires replacement (time based) of RO membrane, “REPLACE” on screen display will blink to remind user to change the filters. Please refer to REPLACEMENT and CLEANING for details.
When replacement is finished, press, and hold down “RESET” until “REPLACE” stops blinking. Press “RESET” to zero the replacement warning time. This is a setting reminder for the next filter replacement time.
3.9. The system will enter defrosting cycle and DEFROST indication on screen will blink when the environmental temperature is too low. If it is required to check the current defrosting temperature, hold down “COOL” to show defrost temperature. Temperature will be displayed “F**” at the position of humidity level on screen.
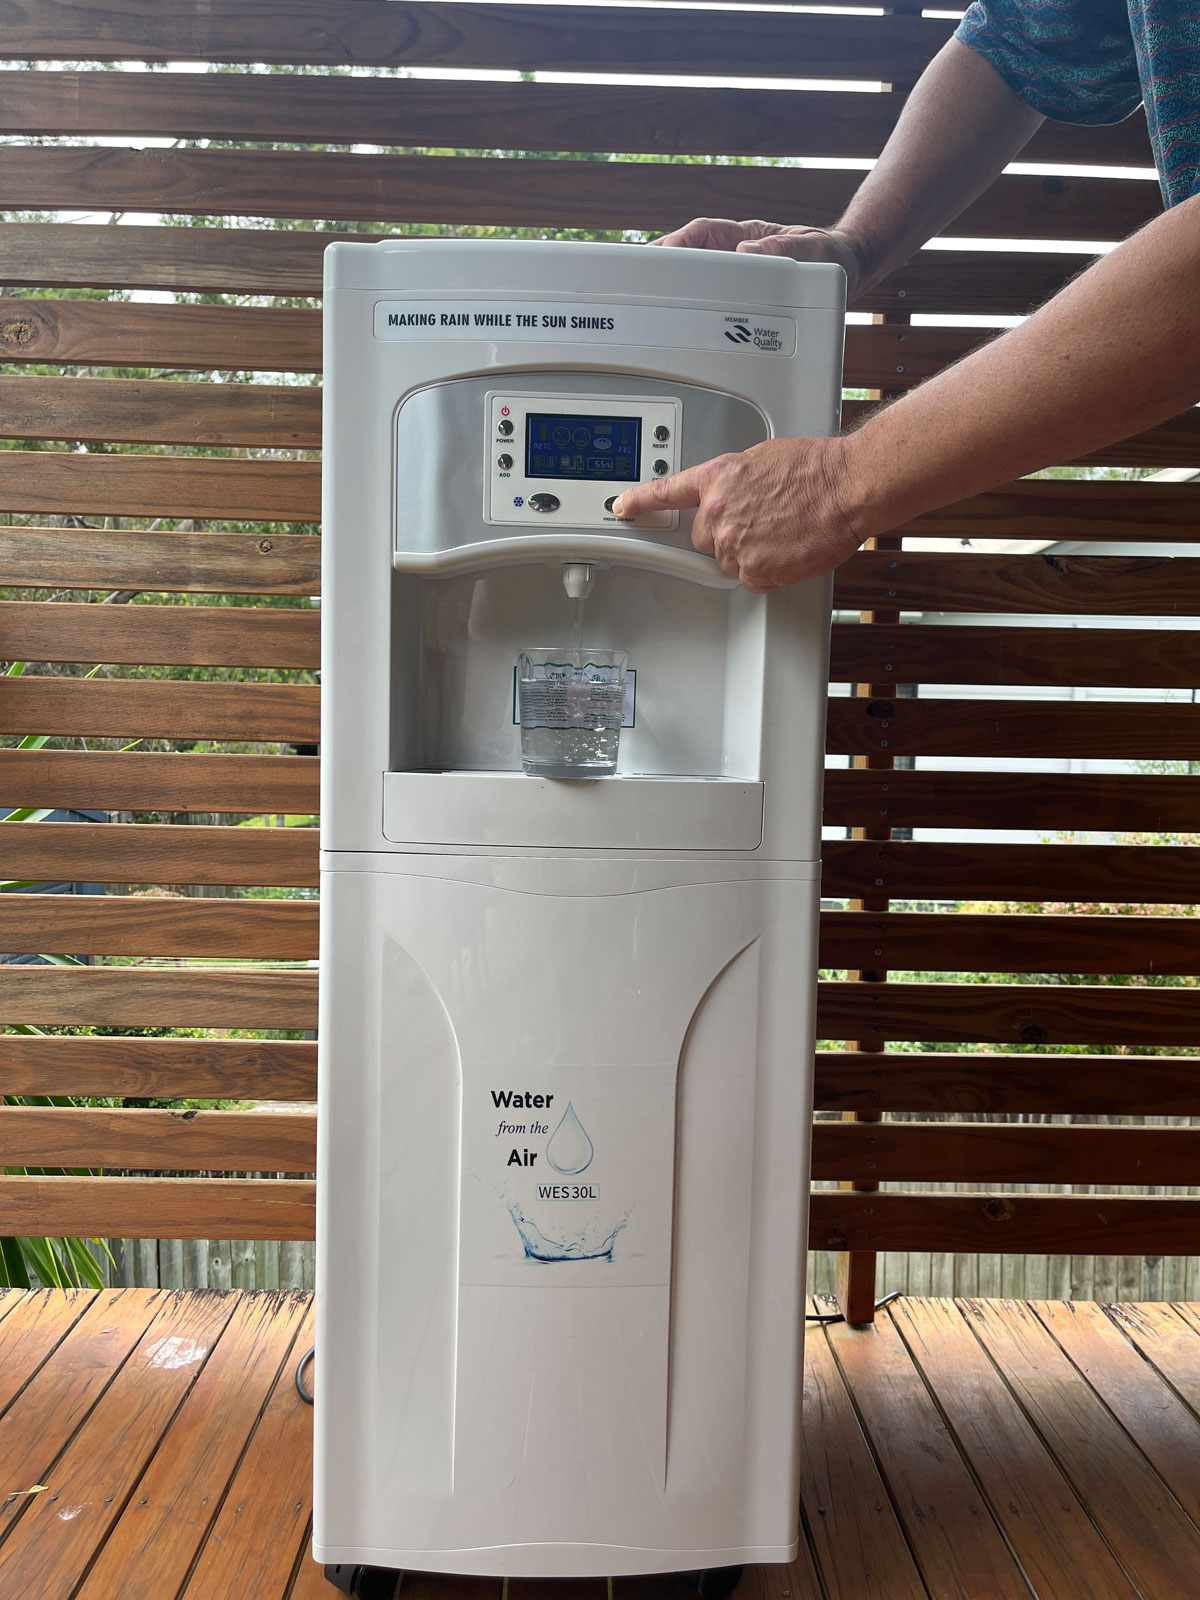
3.10. Press “” button to dispense cool water.
3.11. When the humidity or temperature are low the machine stops making water automatically, please don’t panic. To save electricity, your machine is equipped with multiple detection sensors. When the ambient temperature is detected as below 12oC or the ambient humidity is lower than 33% RH, the machine will automatically turn off the compressor and the machine enters “sleep mode”. When the ambient temperature goes up again (15oC) or the ambient humidity goes above 35% RH, the compressor will start producing water again.
3.12. When the air is dry, very hot or during the cold season, water generation will be slow. At this moment, external connection to city water or an external water container will make the machine serve as a water purifier by using the filtration and sterilization system. When power is switched on, the machine will automatically begin its operation.
3.13. A new machine under first time use, needs to have a clean system and remove odor from machine parts. Dispose of the first water produced by your new machine to ensure the system is flushed properly.
4. CLEANING

The above structure and filtration system is for reference only!
Recommended Timing for Filter Replacement (It might be verified according to different water consumption. The timing below is based on 10 liters water consumption per day.):
1 Pre-carbon filter 3-6 months
2 Post carbon filter 6-9 months
3 RO membrane 15-24 months
4 TCR carbon Mineral filter 9-12 months
5 UV or LED UV light bulb 12 months or upon UV or LED UV fault warning
Note:
1. The above recommended service timing is for reference only.
2. After a long period of service, we recommend that you replace the filters to ensure that your unit will always produce the cleanest and purest drinking water effectively.
3. Please ask professional service person to change UV or LED UV sterilization if needed.
4.1. Cleaning of Air Filter
Please clean air filter regularly according to the air pollution situation in order to ensure proper air supply. To clean the air filter, remove the filter from behind and side of the machine, rinse in clean water to remove dirt and dust. Install back to the machine when the filter is dry (diagram 4.1-1, 4.1-2, 4.1-3, 4.1-4, 4.1-5, 4.1-6).

4.2. Cleaning of Water Collector
Take out water collector from the back. Clean and replace back to original position.
4.3. Cleaning of Bottom Tank
After machine running for a period of time, clean up the dust that may store up in the bottom tank. Please make sure to power off and unplug before cleaning.
1 Pull out bottom tank from back of the machine.(diagram 4.3-1)
3 Take out the bottom tank and clean it with tap water.
4 Install back all the parts and bottom tank once cleaning is finished.

5. ATTENTION
5.1 It is recommended to dispense not less than 2-3 litres of water every day.
5.2 If the machine was not in use for 2 to 5 days, please drain out approximately 500ml of cool water before dispensing for drinking use. If the machine is to be inactive for more than 5 days, it is recommended to drain off water in all tanks and switch off the machine in advance. For its reactivation, please run the system to produce about 5 litres of water, and drain off from the back drain outlets.
5.3 If the machine was not in use for more than 7 days or it has been in continuous operation for more than 4 months, please do the maintenance accordingly (or you may ask professional service person to maintain)
Switch off the power first before draining out water from the back outlets. Must keep pressing POWER button until machine enter stand-by condition, then drain water out from the machine.
Ⅷ. TROUBLE SHOOTING

Problem Six: The system detected water leakage and stopped with 4 beeps.. The red logo on screen blinks and the system cannot produce water.
Solutions:
1 Immediately keep pressing POWER button until the machine enters stand-by condition, unplug power cord from electrical outlet.
2 Check all tubing of filtration system is tight and secure.
3 Check the tubing of bottom tank is tight and secure.
4 Check the draining tubing at the back is tight and secure.
5 Check the water collector is on correct position.
6 The most common reason for the leak detector to be activated is while removing a full lower tank or cleaning the drip tray.
7 Ensure that your machine is turned off when removing the lower tank or water will drip into the leak detector.
After problem is solved, remove lower panel at the back of the machine, locate leak detecting device (diagram 5-1), take off the silicon cup and clean out water inside (diagram 5-2, 5-3), put the cup back on (diagram 5-4) then turn on machine.

Problem Seven: Remaining water cannot be drained out from the back outlets when cleaning top tank.
Solutions: Check water stopper inside water drain outlet is removed.
1 Check water stopper inside water drain outlet is removed.
2 Lower tank water is removed manually.
Problem Eight: Water output from faucet is too small. Solutions:
1 Clean the filter net inside water faucet or replace with new one.
2 Replace with new Blue check valve inside water faucet (remove top lid).
Problem Nine: No cool water output but with ambient water only. Solutions:
1 The cooling function will be activated only when top tank (RHS Clock) water level on screen is above 12 o’clock.
Problem Ten: The machine makes water at a slow rate even after prolonged period of operation.
Solutions:
1 Make sure the temperature level is in appropriate range.
2 Check the humidity level in the room. Low humidity level results in less water production.
3 Make sure that the cold waterspouts are not blocked.
4 Make sure that the in going and outgoing air ventilation is not blocked.
5 Check that the distance between the machine and the wall is not too close.
13
6 Make sure that the power voltage is not too low or too high.
7 Make sure that the internal booster pump is working well.
8 Make sure that the water lines are not blocked, and water flow is smooth.
9 Make sure that the unit is placed in good ventilation condition, and the air filter net is cleaned regularly to ensure the free air flow.
Problem Eleven: The humidity indication on screen is different from the real measured room humidity level.
Solutions:
1 It is normal if the difference is in range of 5% more or less.
2 Make sure the machine and the individual homeostat are placed in same place to measure.
3 Make sure that the homeostat sensor is not blocked, covered or too close to the wall.
Problem Twelve: The machine is with excessive vibration or noise. Solutions:
1 Make sure there is no object placed on top of the machine.
2 Make sure that there is no water cup placed on water tray.
3 Open the front bottom panel and check if the copper tube at the side is touching the side panel. Correct the position of copper tube slightly and slowly if there is.
Once all the above procedures have been performed and your machine still does not work or does not work correctly, please do not try to perform other repair procedures yourself. Always call a qualified service technician to look at the machine and perform the repair procedures. We are not responsible for any damages incurred during self-reparation and void all warranty.
Ⅸ. TECHNICAL SPECIFICATIONS
Dimensions
Height: 112cm
Width: 40cm
Depth: 40cm Net Weight: 48kg
Power
Voltage
□220-240V 50Hz
□220-240V 60Hz
□100-120V 50Hz
□100-120V 60Hz
Operation Power
375W – water making
450-500W – water making and cooling
Coefficient of Water Quality
Working Temperature: 15℃-40℃ Temperature of Cold Water: 4℃-10℃ Working Humidity: 35%-95% Water Storage Capacity:16 Liters
Atmospheric Water Production Capacity:


